Applying for a U.S. Student (F-1) Visa: A Guide for Indian Students (2025)
Published on September 14, 2025
Congratulations! You've received an admission offer from a university in the United States. This is a massive achievement, but before you can pack your bags, there's one vital piece of 'kaagaz' you need: the F-1 Student Visa. This visa is your official permission to enter the U.S. and pursue your academic dreams.
The F-1 visa process can seem long and complicated, involving new terms like 'I-20' and 'SEVIS'. But don't worry. Your Digital Saathi at Kaagaz Mitra is here to break it down into a clear, step-by-step guide specifically for Indian students. Let’s get you ready for your journey.
Your Pre-Visa Checklist: What to Do Before You Apply
Before you even think about the visa application form, you need a few things from your university:
- Accept Your Offer of Admission: Formally accept the admission offer from your chosen U.S. university and pay the required deposit.
- Receive Your Form I-20: This is the most important pre-visa document. Your university (specifically, the Designated School Official or DSO) will issue this form. The I-20, "Certificate of Eligibility for Nonimmigrant Student Status," is proof that you are eligible to apply for an F-1 visa. Double-check that your name, date of birth, and course details are correct.
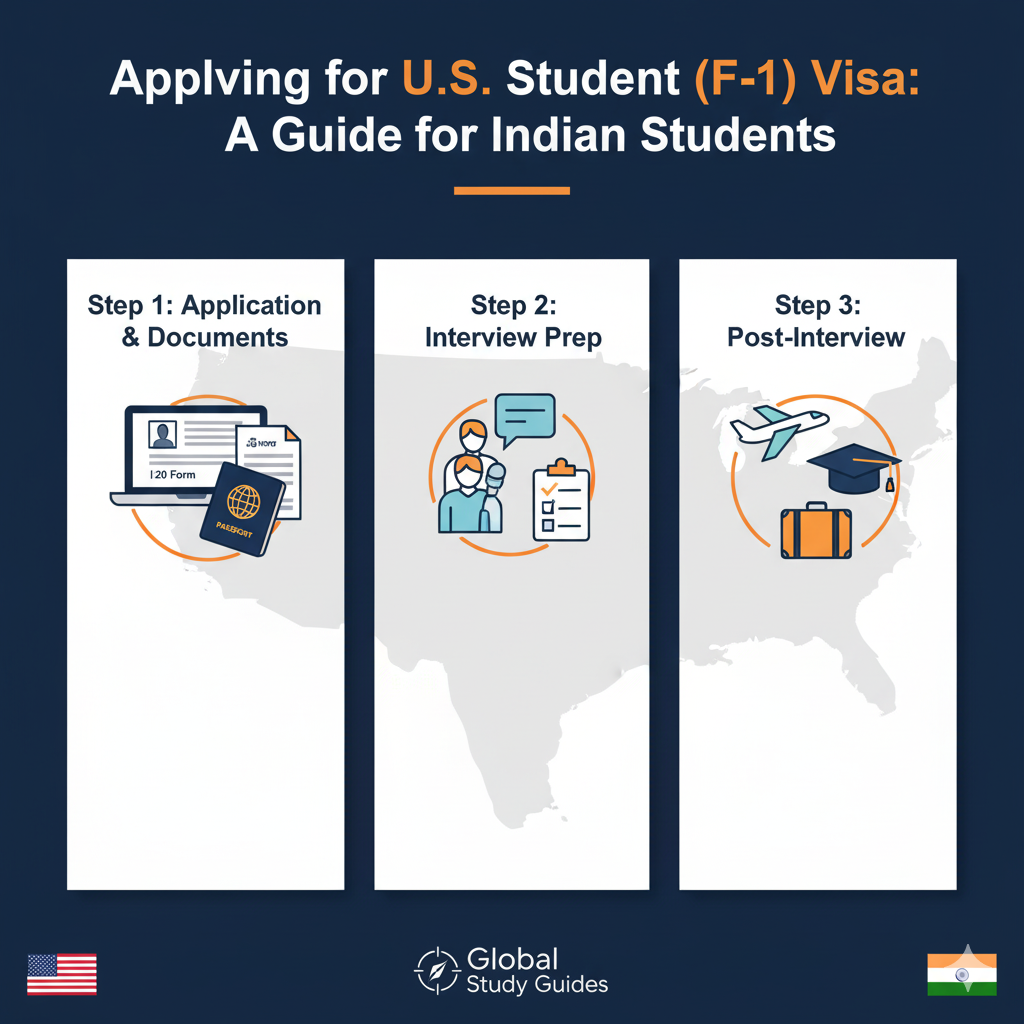
The F-1 Visa Application Process: A Step-by-Step Guide
Step 1: Pay the SEVIS I-901 Fee
Once you have your I-20, your first task is to pay the SEVIS (Student and Exchange Visitor Information System) I-901 fee. This fee funds the system that tracks international students in the U.S. You will need the SEVIS ID from your I-20 form to pay this fee online. Remember to print the payment receipt, as it is mandatory for your visa interview.
Step 2: Complete the Online Visa Application (Form DS-160)
This is the standard online nonimmigrant visa application. You will need to upload a recent photograph that meets the specific U.S. visa photo requirements. Fill out every section with complete accuracy. Any mismatch between your DS-160 and your other documents can cause issues. Save your application ID; you will need it.
Step 3: Pay the Visa Application Fee (MRV Fee)
This is a separate, non-refundable fee for the visa application itself. You can pay it through various methods like NEFT or at designated bank branches. You'll need the receipt to schedule your appointments.
Step 4: Schedule Your Two Appointments
Indian applicants must schedule two separate appointments through the U.S. Embassy's scheduling website:
- Biometrics Appointment: This is at a Visa Application Center (VAC), where your fingerprints and photograph will be taken.
- Visa Interview Appointment: This is at the U.S. Embassy or Consulate.
You must attend the biometrics appointment at least one day before your visa interview.
Preparing for the F-1 Visa Interview: Documents and Questions
The interview is the final and most crucial step. The consular officer's goal is to verify that you are a legitimate student and that you intend to return to India after completing your studies.
Key Documents to Carry:
- Your passport, I-20 form (signed by you), DS-160 confirmation, and appointment letter.
- SEVIS I-901 fee receipt and visa application fee receipt.
- Academic Documents: Original transcripts, mark sheets, and degree certificates from your previous institutions. Standardized test scores (GRE, GMAT, TOEFL, IELTS) are also important.
- Financial Documents: This is extremely important. You must prove you have sufficient funds to cover your first year of tuition and living expenses. This can include bank statements, education loan approval letters, and/or an Affidavit of Support from your sponsors with their financial documents (IT returns, salary slips).
- Proof of Intent to Return: Documents showing family ties (marriage/birth certificates), property ownership, or a post-graduation job offer in India.
Common F-1 Interview Questions:
Your answers should be confident, concise, and aligned with your academic and career goals.
- "Why did you choose this university?" - Be specific. Talk about the curriculum, specific professors, research opportunities, or unique programs that attracted you. Avoid generic answers like "It's a good school."
- "Why do you want to study this particular course?" - Connect the course to your past education and your future career plans in India. Show a clear and logical academic and professional path.
- "How will you finance your education for the entire duration?" - Clearly explain your funding source, whether it's a loan, family savings, or a scholarship. Be ready to show the corresponding documents and state the exact figures.
- "What are your plans after you graduate?" - This is the most important question to prove your "non-immigrant intent." Your answer must clearly state your intention to return to India. Mention specific companies or roles you would target and how your U.S. degree will make you a valuable asset in the Indian job market.
- "Do you have relatives in the U.S.?" - Always be truthful. If you do, state your relationship. It is not necessarily a negative point, but hiding it is.
Interview Day: Key Dos and Don'ts
Dos
- Arrive 15-30 minutes early.
- Dress in formal or smart-casual attire.
- Greet the officer with a polite "Good Morning/Afternoon."
- Listen to the full question before answering.
- Maintain eye contact and a confident posture.
Don'ts
- Don't provide fake documents or lie.
- Don't memorize answers; speak naturally.
- Don't hand over any documents unless asked.
- Don't argue with the consular officer.
- Don't mention plans to work or settle in the U.S.
Securing an F-1 visa is a process of careful documentation and clear communication. By following these steps and preparing for your interview, you'll be well on your way to starting your educational journey in the United States. Good luck!